Partly Cloudy with a Chance of Raining Fish
Thank you to all my friends and family for your support! Stop by and check out the exhibition if you are in the area! There are a lot of really great prints on display. The show will be up until August 14.

EXPLORATIONS OF THE HEART
If you find yourself drawn to art that you relate to or feel emotionally, than you are in the right place. My mission is to help heal and nourish feelings, through empathy and compassion. This is especially apparent in my heart print series of work. Each heart print signifies an emotion I have been through or a client has been through. I welcome you to take a look around, experience my art, share your feelings and engage with me! Visit my Blog, Instagram, or Facebook Page for info about my art and upcoming shows or events!
Thank you to all my friends and family for your support! Stop by and check out the exhibition if you are in the area! There are a lot of really great prints on display. The show will be up until August 14.
Join me for a printmaking exhibition! My "Partly Cloudy with a Chance of Raining Fish" print will be on display. Stop by and check it out! The show opens on July 15, 2012 at Noyes Art Center in Evanston, Illinois. The opening will be on Sunday, July 15 at 3:00 - 5:00pm. The show will be up until August 15, 2012. City of Evanston Noyes Cultural Arts Center 927 Noyes Street Evanston, IL 60201
Gallery Hours: Mon-Sun 10 am - 6 pm
Transportation and Parking Noyes (Purple Line) Foster (Purple Line) Central-purple (Purple Line) Parking: Street or Private Lot - metered, so bring your quarters!
I have all these printmaking proofs on newsprint and I was trying to decide what to do with them, since they are not archival. I decided to make greeting cards out of the small ones! I put them up for sale on my ArtFire page. Check it out! Shop lisatornatore on ArtFire.com
I decided to experiment with materials and printed this print on heavy duty aluminum foil and fixed it on some nice japanese paper. It turned out really good and it gives a stronger sense of the metal on the heart shape! Check out the whole series of heart images that are for sale in my Portfolio!
Well, I am working on framing my infamous print called "Partly Cloudy with a Chance of Raining Fish." It will be in an upcoming show at the Noyes Art Center in Evanston, IL. More details coming soon!
This print is exhibiting at the Evanston Art Center in March. Please stop by to see it if you are around!I used a technique I have never tried before on this print. I took a linoleum plate and cut it into pieces, inked the pieces and and put them back together on the press and printed them before printing my master plate on top. I also used some gold metallic ink for the sun rays that looks really good. It turned out beautifully! I am still cleaning it up a bit and adding a few more highlights here and there. Enjoy!
Here it is on gold speckled paper. It really pops and looks amazing! The picture just does not do it justice. I am thinking of calling it "partly cloudy with a chance of raining fish" but I think that might be a little long. Post suggestions if you have any! I am working on some color plates for this as well!

Just printed my first proof of my 18x18 inch plate. Very excited! It turned out beautiful. I will post it next week when it is dry. Stay tuned!
Metal Plated HeartHere is my latest print! This is an old drawing I created after some heartbreak and thought that a Metal Plated Heart would protect it from more heartbreak. It is ironic that I chose to work on this picture after the previous one, since it is exactly the opposite of the LOVE picture. Everything comes in balance–yin and yang.
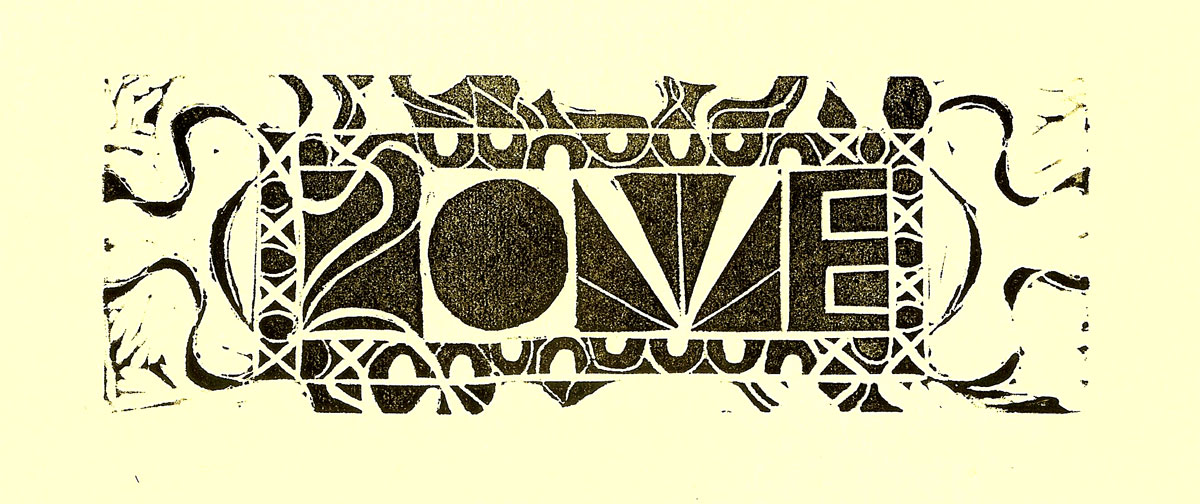
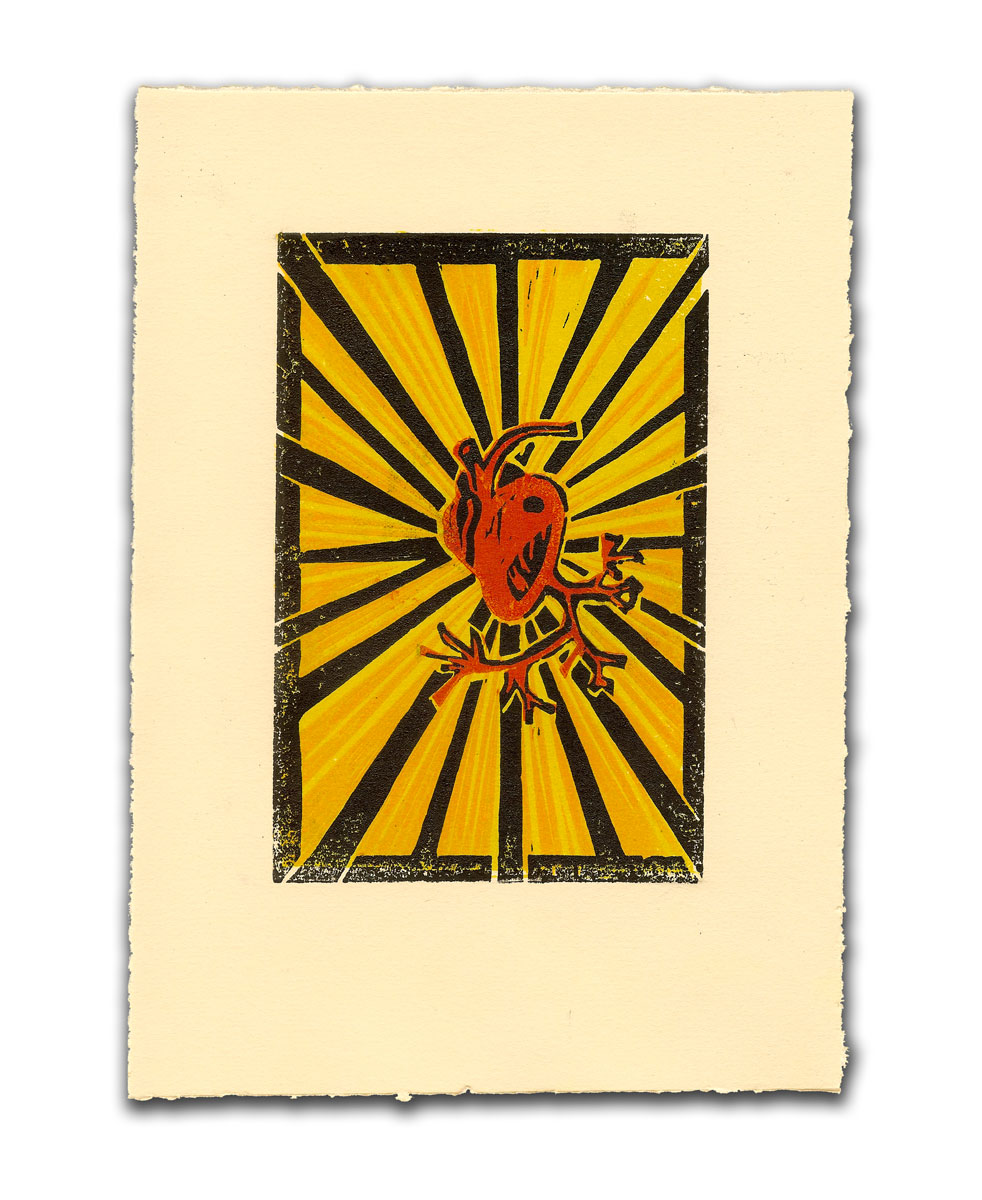
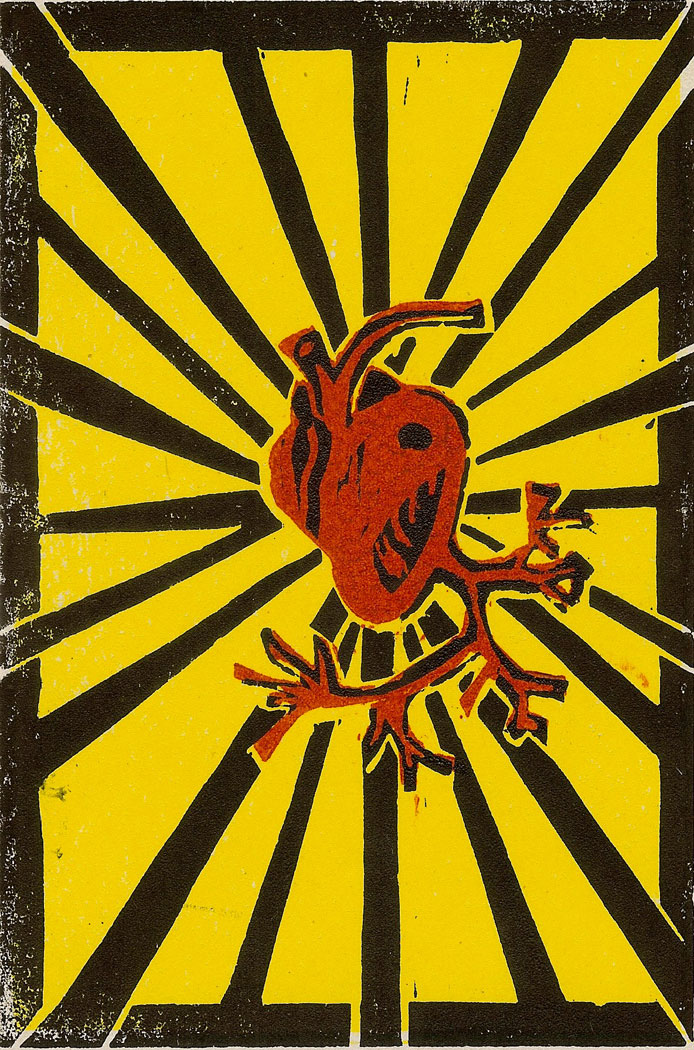
Here is the Final print. LOVE. The top image of the heart with exploding rays from it is a woodblock print and the LOVE image below I carved out of a linoleum block. I am dedicating this to my husband. Check out the whole series of LOVE images that are for sale in my Portfolio!

Here is the linoleum cut plate that I will put below my heart image. I have decided to make it a reduction print.
 A reduction print is printing up the lightest color to show of the entire plate and after printing a large quantity, then cut out the areas that will remain that color, and continue to print. Each time an area is removed from the plate a color will show, but there is no room for mistakes in this kind of printing, because once you cut the plate, you cannot return to the beginning state of the plate.
I have also begun working on a new heart image. I have made some sketches and will soon begin to work on some plates for printing!
Here is the first of a set of this print. I think I am going to do a bit more experimenting with colors and add a few other touches to the image. The title will be LOVE. I have cut a new linoleum plate that I will print and put below this image.

Since this project turned out so well and I have gotten good feedback on it, I am planning to create a whole series of images involving the heart and emotions. Since the heart is where most people feel the most intense feelings. I am very excited about it. I already have ideas for my next heart image!
 Here is plate three, the red heart! It is turning out really well! I am definitely going to add the 4th color plate to this. The fourth color will be some orange rays coming from the heart. I am also experimenting with printing on a few hand made sheets of paper I made. My new gouges have arrived from McClain's and I am very excited to use them to carve out my 4th color plate!
I am happy to announce that I am now working on a new printmaking project! It is inspired by my husband! I have finished the plate for my printmaking project. I am very excited to start printmaking again. This is the first plate I have done since college!
Many people are unfamiliar about how printmaking works. It has many steps that could be confusing for some. It is very different from painting. Prints are created from an impression of a plate onto paper, so the artist first must create a plate. In wood relief printing, the artist must carve the image he wants into a wood plate, which is what I have done here. After creating this initial plate, the artist can ink up a plate and place a plate with some paper on top onto a press and roll it through. When the paper is lifted the image will appear. Many people forget this, but when the ink on the plate transfers to the paper the image will be reversed. With my project, I will be using this initial plate as a master plate. It will be the plate I will use to create other plates to add color. Each color has its own plate. So I will be carving out two more plates to create my final image. On each plate, I will carve out the places where I don't want that color to print.
Check out my portfolio of art. Most of it is for sale. If you are interested in owning a Lisa original, please contact: lmetornatore@gmail.com